Follow the steps listed below to successfully install and transfer your AES Network to the IntelliNet Network Control Center (INCC) software platform.
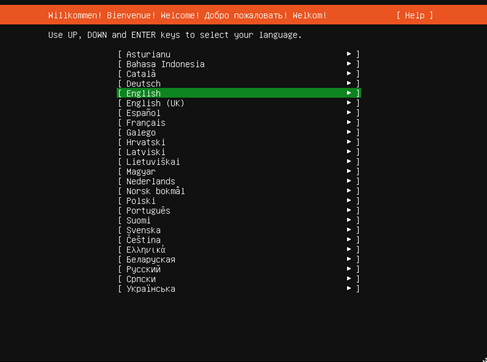
Step 1: Setting Up Your Operating System
Step 2: Installing the INCC Software
Step 3: Go Live on the INCC Platform
Before Your Begin
Please reference the 8705 IntelliNet® Network Control Center (INCC) Installation, Configuration, and Operations Manual, Section 3, pages 7-9 for a full overview of INCC hardware requirements and considerations.
The following instructions can also be found in the 8705 IntelliNet® Network Control Center (INCC) Installation, Configuration, and Operations Manual, which can be accessed via the link below.
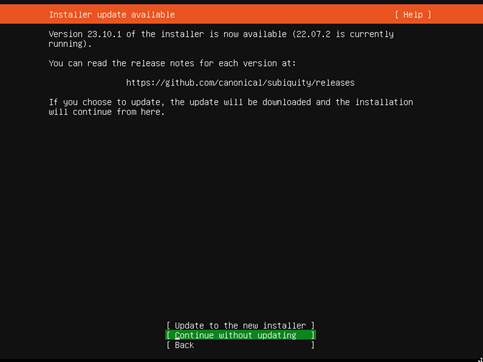
It is recommended that you continue without updating.
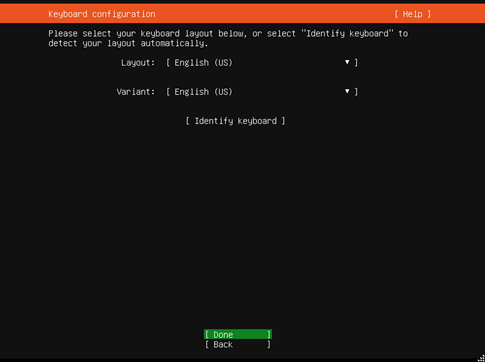
2. Select a keyboard language from the Layout and Variant drop down lists:
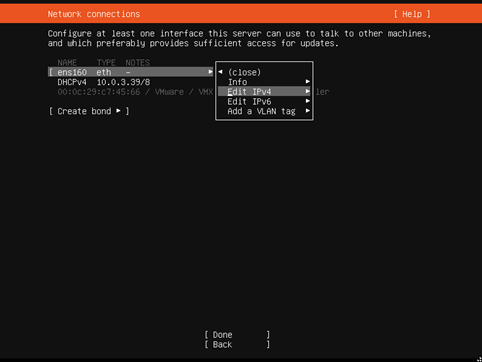
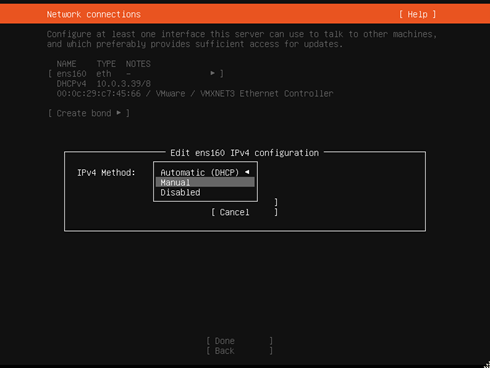
3. Configure at least one interface the server can use to communicate with other machines. Start by clicking >eth > Edit IPv4.
4. Define the IP address by selecting Manual.
5. Add your static network values into the form, then click Save and Done.
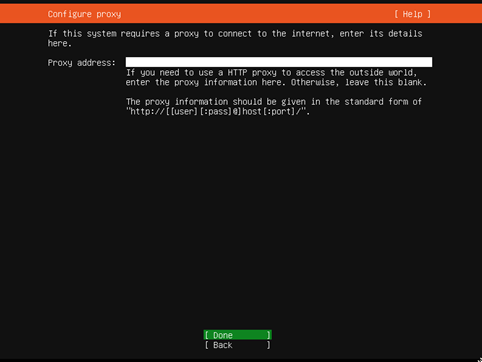
6. Keep the default proxy settings, then click Done.
7. Keep the default mirror values, then click Done.
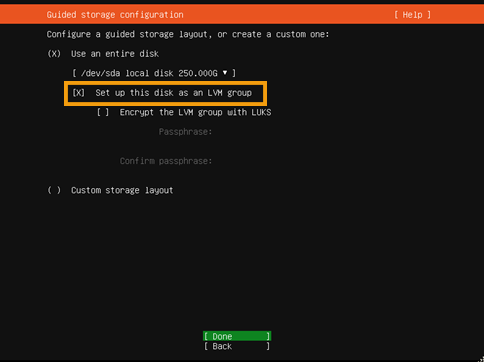
8. In the Guided Storage section, set up the disk as an LMV group. Keep all other settings
in default mode.
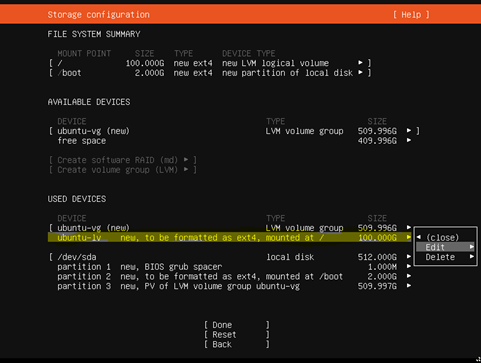
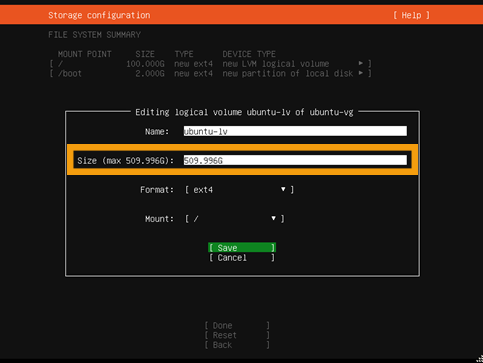
9. In the FILE SYSTEM SUMMARY section, you will need to define a maximum volume forthe server. Begin by selecting ubuntu-lv under USED DEVICES, then click Edit
10. In the Size field, enter the maximum size, then click Save:
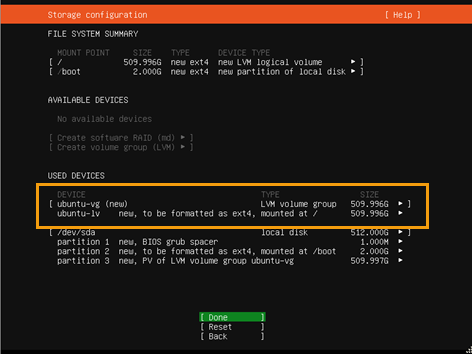
11. Confirm the storage space and click Done. Then approve the format and click on
Continue.
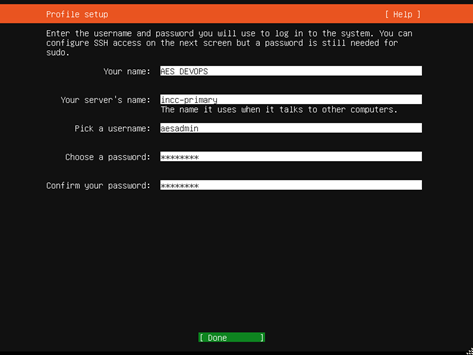
12. On the Profile page, enter your VM profile information.
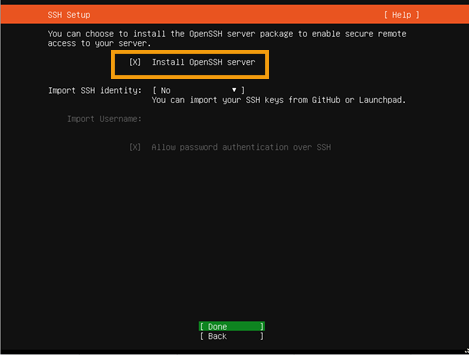
13. On the SSH Setup page, check Install OpenSSH server and click Done.
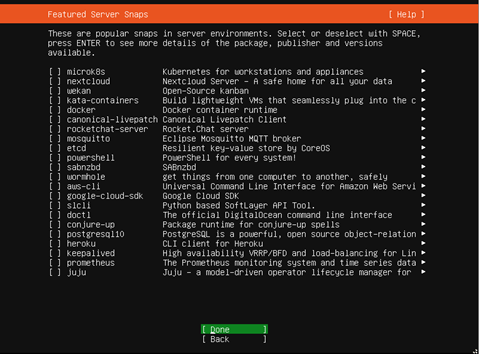
14. Click Done without making any selections (the INCC does not have any additional
packages).
15. Once the installation and update are finished for the Ubuntu Operating System, the Reboot Now button will appear. When ready, click Reboot Now.
Installing the INCC Software
Step 2
Installing the INCC Software
Please use the INCC Scheduler (link below) to schedule a call with AES Technical Support. On this call an AES Technical Support team member will:
Confirm your operating system is set up and ready for software installation
Confirm the IP address of both servers and alarm automation software
Provide you with your INCC License Key
Assist you in the installation of your INCC software
Set up a final call to migrate network data and go live
At the end of your call with AES Tech Support (Step #2), you will schedule a final call to migrate network data and go live with your new INCC! If you would like to reschedule this call, simply contact AES Technical Support at (866) 237-369.